COVID19 Lockdown Dev Log – Day 11
What I Worked On
Integrating Netlify CMS into my portfolio project and using the Netlify platform.
What I Learned
I learned how til install and configure Netlify CMS wtih Gatsby and using Netlify for hosting. The installation is the “easy” part:
npm install netlify-cms-app gatsby-plugin-netlify-cmsThen you add the Netlify CMS plugin in ‘gatsby-config.js’:
//gatsby-config.js

module.exports = {
  plugins: [
    `gatsby-plugin-netlify-cms`,
    ... other plugins
  ]
}
Now it’s time to add the editor functionality that will allow you to add content through a GUI. We do that by creating a folder called ‘admin’ under the ‘static’ folder. In the admin folder we create a config file called ‘config.yml’. This file will tell Netlify CMS where to put content, what data type to use, authorization and more. We also add an ‘index.html’ file which contains the log-in page for the editor (like when you go to “www.yoursite.com/wp-admin on” WordPress to log in to the backoffice).
// folder structure

portfolio-v3
 -static
  -admin
   --config.yml
   --index.html
//config.yml
backend:
name: git-gateway
branch: master
media_folder: "static/uploads"
collections:
- name: "project"
label: "Project"
folder: "src/pages/projects"
create: true
slug: "{{name}}"
fields:
- {label: "Project title", name: "title", widget: "string", required: true, default: "Project"}
- {label: "Github URL", name: "giturl", widget: "string", required: true}
- {label: "Live URL", name: "liveurl", widget: "string"}
- {label: "Body", name: "body", widget: "markdown", required: true}backend: Here we tell the hosting service that we use Git-Gateway for user log in and the branch it should watch and use for production is ‘master’.
media_folder: Tells Netlify CMS where to put media files (much like Media Library in WordPress)
collections: The kind of content you can add. In this case we can add a “project”. The content template for a project is defined in the ‘fields’. I won’t go too much into depth as Netlify CMS has an excellent guide and tutorial for this (links in the Resources).
Netlify CMS will tell you what to add in ‘index.html’ in order to make authorization work with Netlify Identity and Git Gateaway (link in Resources). In any case, the ‘index.html’ for the admin page will look like this:
<!doctype html>
<html>
<head>
  <meta charset="utf-8" />
  <meta name="viewport" content="width=device-width, initial-scale=1.0" />
  <title>Content Manager</title>
  <script src="https://identity.netlify.com/v1/netlify-identity-widget.js"></script>
</head>
<body>
  <!-- Include the script that builds the page and powers Netlify CMS -->
  <script src="https://unpkg.com/netlify-cms@^2.0.0/dist/netlify-cms.js"></script>
  <script>
    if (window.netlifyIdentity) {
      window.netlifyIdentity.on("init", user => {
        if (!user) {
          window.netlifyIdentity.on("login", () => {
            document.location.href = "/admin/";
          });
        }
      });
    }
  </script>
</body>
</html>
Now you can log in to your admin panel and manage content. Add “/admin” after the URL of your site and you are redirected to the admin log in page.
www.yoursite.com/admin:
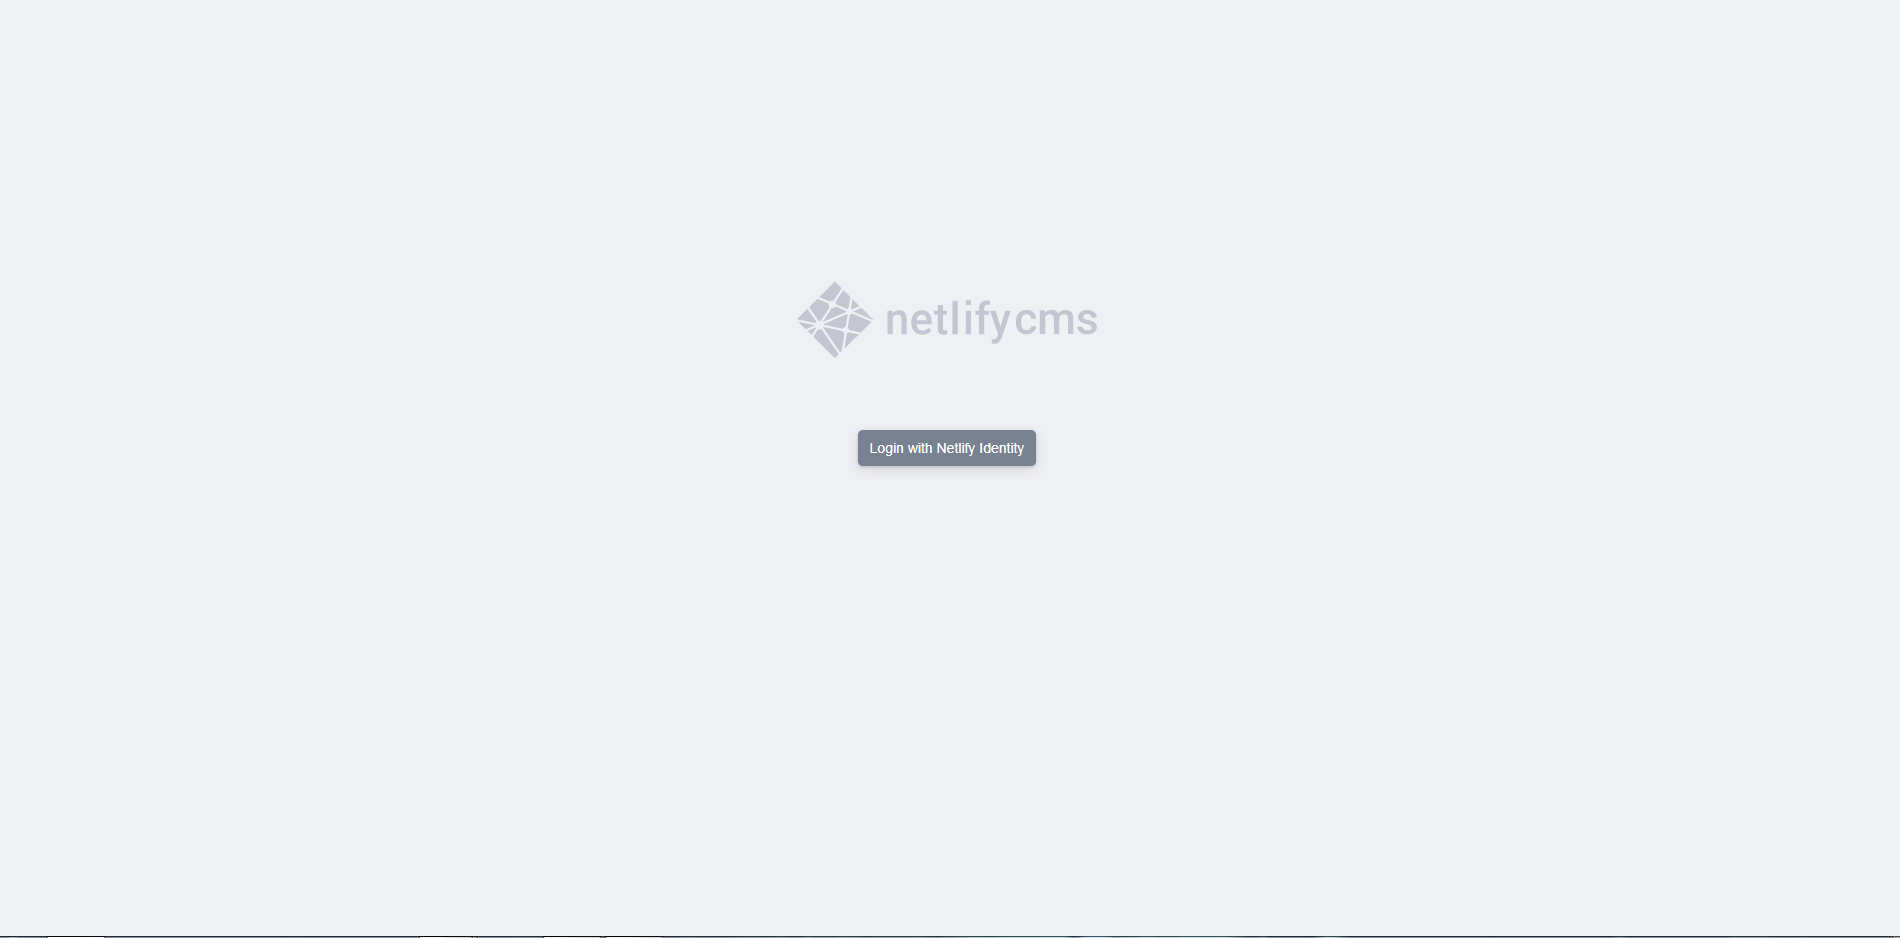
Log in and you are ready to create content!
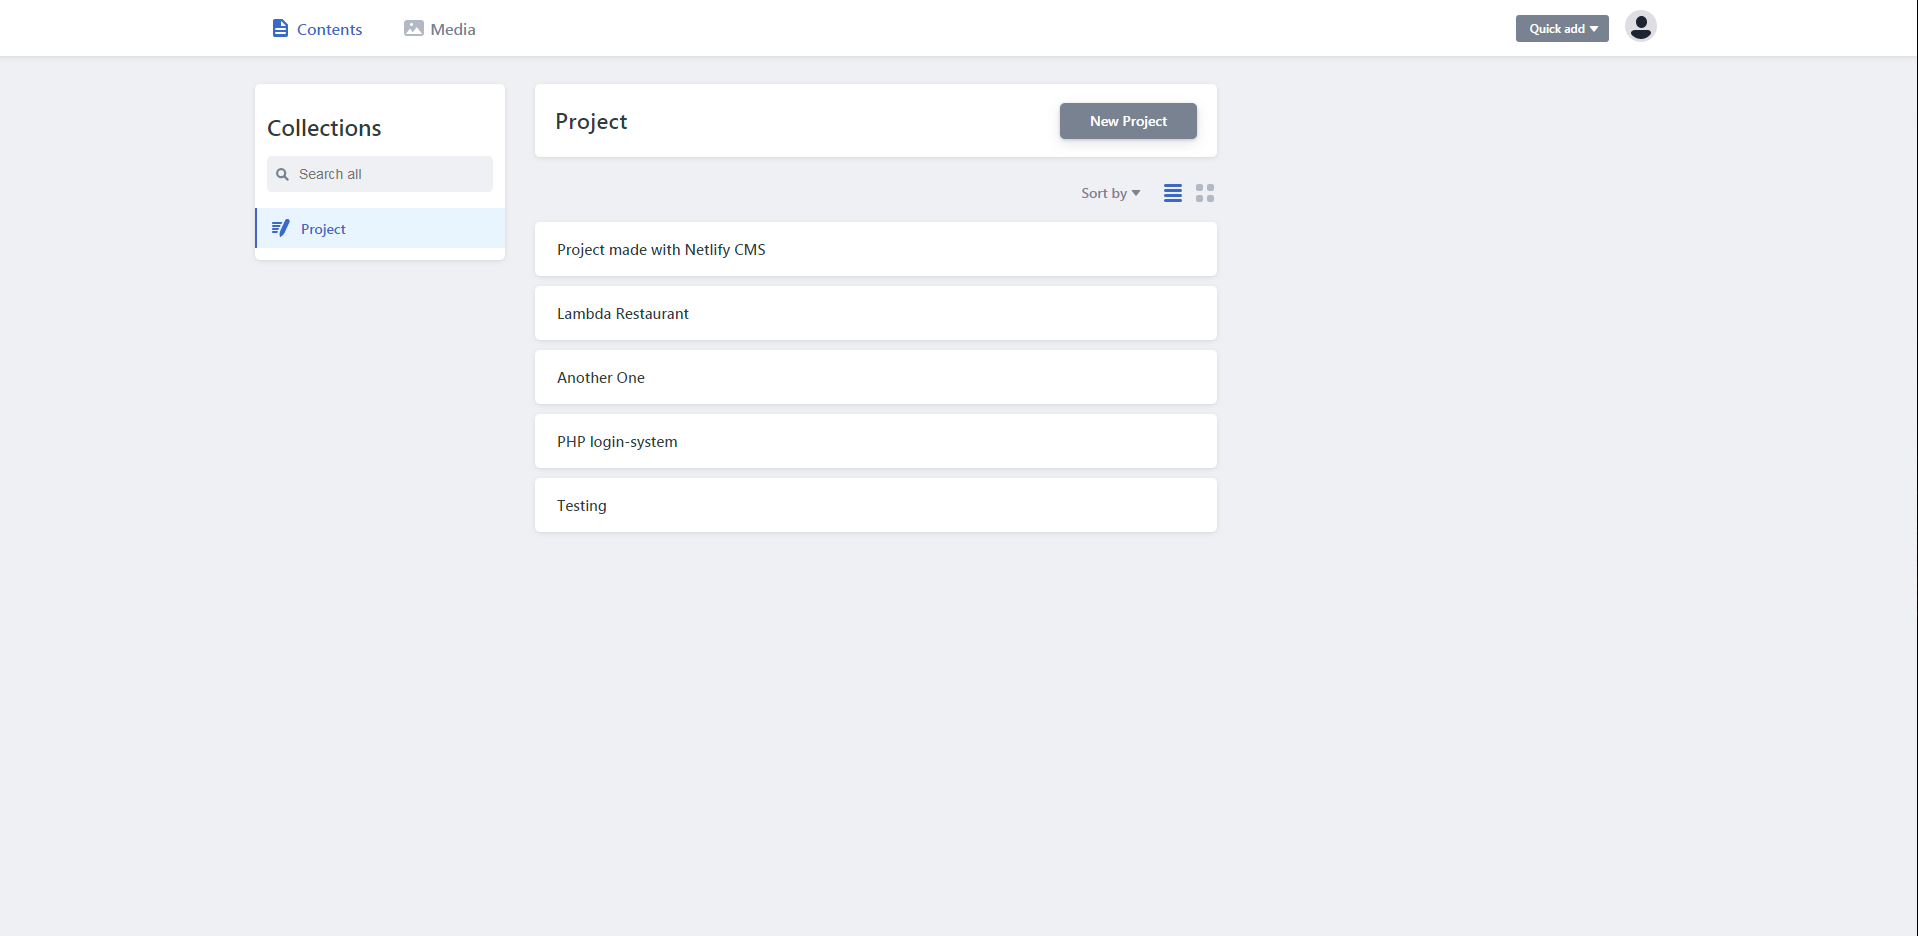
I have all of this working so far. I can create content, but it isn’t saved and displayed correctly yet. I hope to solve that by tomorrow 😀
What Distracted Me During The Day
- Messenger
Resources
- Adding Netlify CMS to a website – https://www.netlifycms.org/docs/add-to-your-site/
- Adding Netlify CMS to Gatsby – https://www.netlifycms.org/docs/gatsby/